Sunday, November 6, 2011

Embroider-bee

Hello!  It's been a while, hasn't it?  School and mommyhood have been keeping me pretty busy.  Baby M has been motoring around for a few months now, so I haven't had much time to sit.  Last week he took the famous "first steps" and started to wave.  So many fun things all at once!

Somewhere in between all of the fun things and some not so fun things (lesson plans and paperwork) I found some time to complete my blocks for the embroider-bee.
First up we have some hedgies surrounded by rainbow colors.  Honestly, I had a hard time parting with this one... it's right up my alley! 


Next up we have the tattoo motif swear word embroidery. I had a hard time actually making this one.  I just can't come to terms with combining embroidery and cursing, so I decided to go foreign with this one.  I figured the only way I could do it was to put it in German.  No offense to my German friends, but it just doesn't seem as bad if I say it in a different language.  I think it turned out pretty anyway.  I made tons of french knots for the daisy centers.  


Next up, cranky looking birds on a branch.  I love the cute little birdies!  


And last but not least, some beautiful flowers and stars.  All of the blocks are on their way to their new homes.  I hope they will be loved!


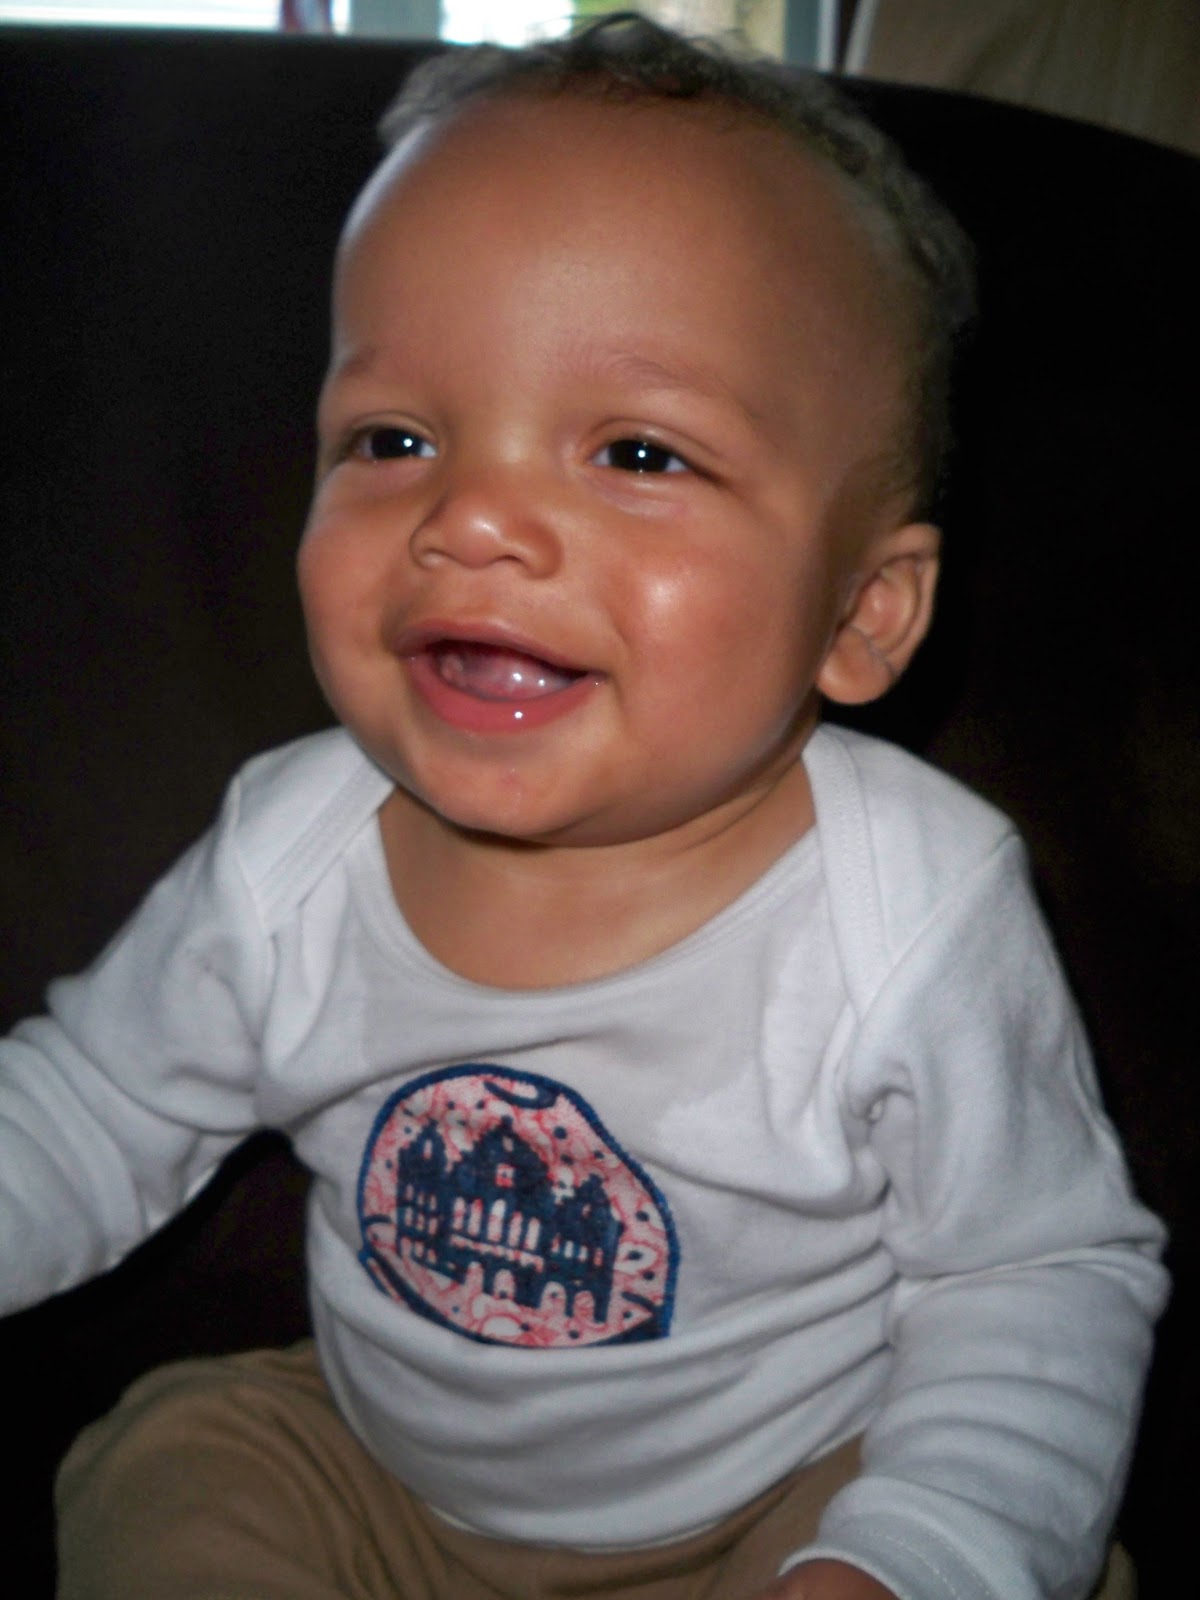
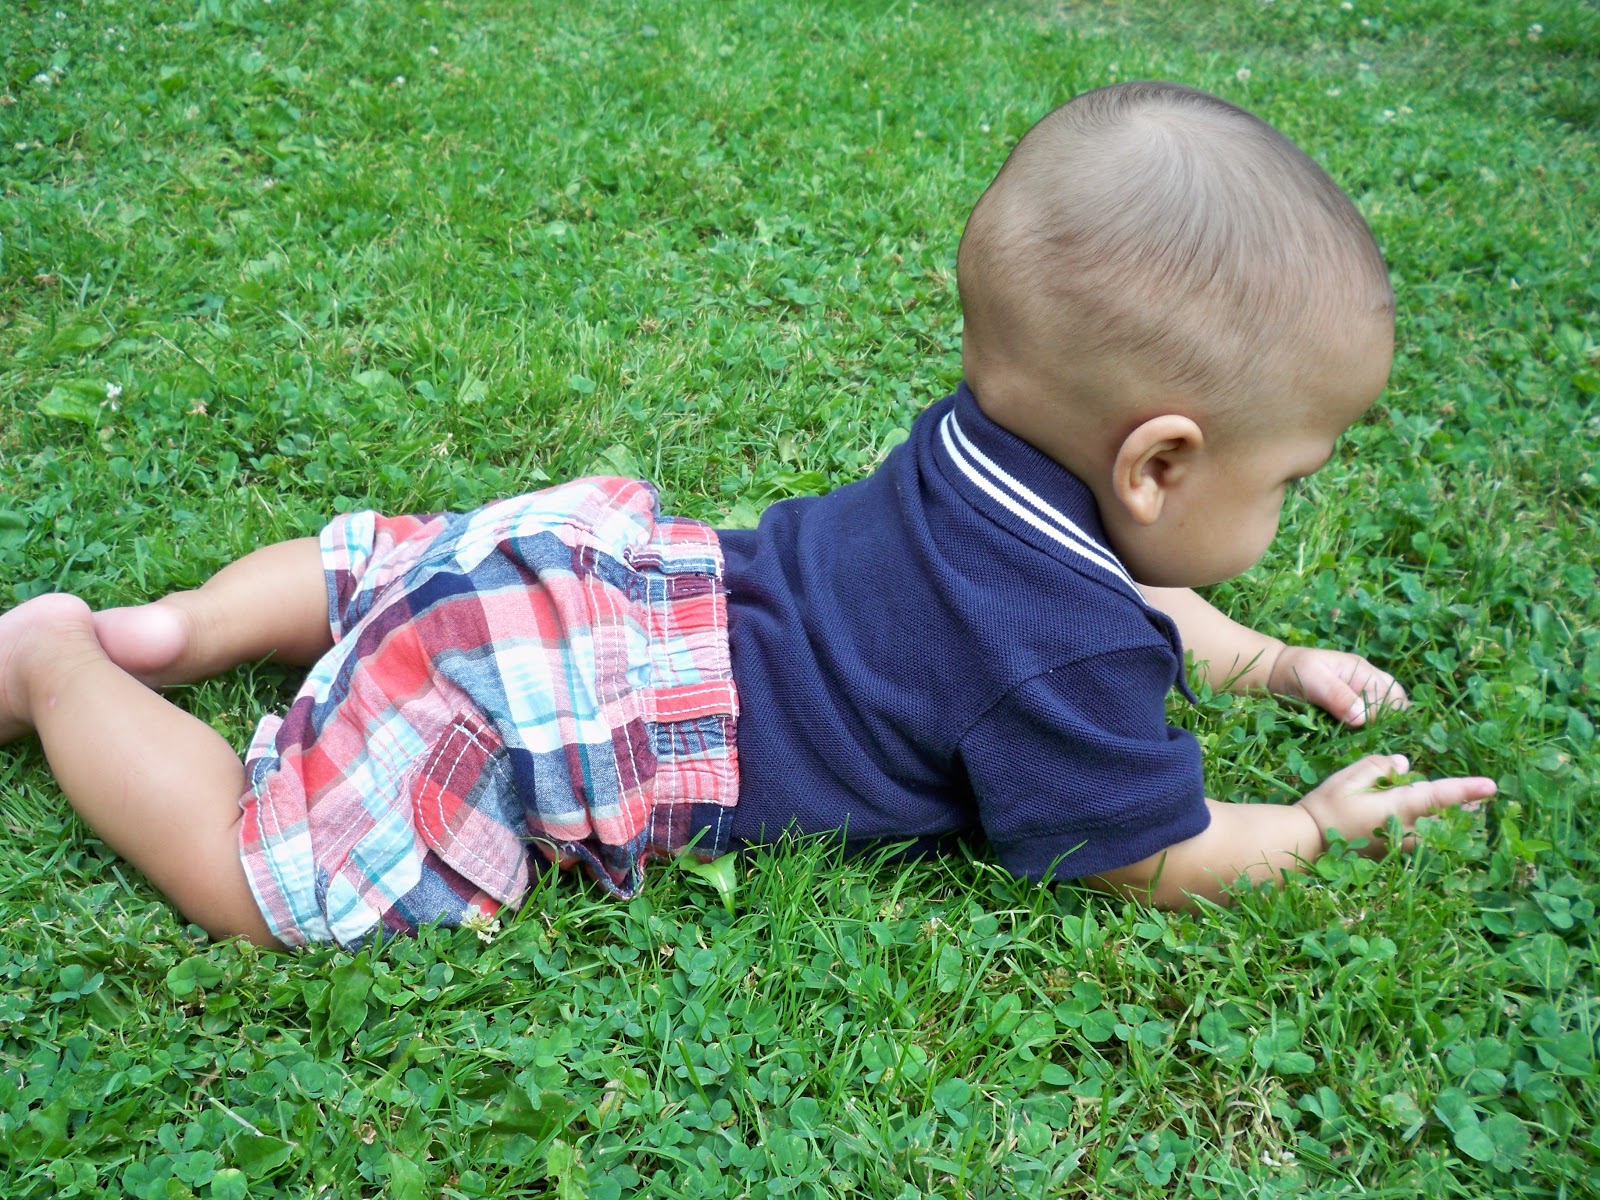
And here is a semi-recent pic of Baby M!  Adorable!!

Wednesday, August 24, 2011

Zip pouches galore!

      Back to school tomorrow... yes, I got my job back.  I am still the one and only German teacher in our school district.  I am very happy to be employed, but also a little sorry to see summer go.  
     It has been a strange summer to say the least.  Not quite as relaxing as I am used to.  My beloved father passed away after a long battle with brain cancer.  We all miss him terribly, but we are happy that he is not suffering anymore.  He was truly a man of integrity; someone that everyone looked up to.  
     There were so many wonderful people who comforted us and helped us out.  My mom has some really great friends from the school where she works.  They helped out by keeping my older boys entertained while we were there.  They took them to the movies and swimming and gave them other kids to play with.  It was so wonderful and such a big help!  It really helped the boys keep some normalcy during that time.
     My mom and I wanted to do something special for the women who helped us, so I made them all a back to school pouch and my mom is going to fill them with some supplies since they will all be going back to school at the end of this week.  I really like how the pouches turned out.  


 I love the dark denim with the contrast of the white thread!  I'm not sure why, but I find it to be very appealing.  I wish the weather would have cooperated a bit more for the photo shoot, but it is what it is!


The pouches are great scrap busters.  The next pouch is for my sweet J.  Originally I had made him this one, but he offered to give it to a friend.  He decided that he would like a Tom and Jerry one instead.  Not my kind of fabric, but perfect for an 8 year old boy!  


Monday, August 15, 2011

Winner!

Better late than never.  The winner of the books is Natural Mama!  Natural Mama has been to France.  Check out some of her cool photos here.  Sounds like a great vacation!  Enjoy your new books!

Friday, August 12, 2011

Back to School Zip Pouches

Click here to enter my giveaway!

I've been having fun this week with a little back to school sewing for some great kids! I used  Anna's 3 ring binder tutorial that I found on Sew Mama Sew.  If you haven't checked out Anna's blog Noodlehead you better head over there right now  after you read this post.  She has some mad sewing skills and tons of fantastic ideas, not to mention great patterns.  Anyway, here are the zip pouches that I made.  I am trying to use up some of my scrap collection, but these really didn't even make a dent in it.  


Strangely enough, both of my older boys chose the exact same fabric and zippers for their pouches.  I was surprised that they even chose the little monsters.  I was sure I would be making car and fish pouches. I tried using my "new to me" serger that I won on eBay, but I am still working out the kinks and figuring out how it works, so in the end, I just zigzagged the seams.  I still have to put the grommets in for the binder prongs.


The next pouches were fun to make because they are girly.  Girly projects don't happen too much around here.  I skipped the grommet strip on these.  I prepared some strips, but the denim made it too thick to sew through, but I think they will be great without them.  
I love the little window.  I bought vinyl a while ago, and this was the perfect project to try it out on.  It was easy to sew; much easier than I had anticipated.  Anna had a great tip for sewing with the vinyl.  She suggested to put a piece of tape on the presser foot.  It worked beautifully!  No Teflon foot needed!


Anna's 3 ring binder tutorial

Wednesday, August 10, 2011

Who's up for a Giveaway?

Okay, so I have way too many books in my library and need to give some away.  These three books are full of whimsy with some really cute projects.  All you need to do to win is leave a comment.  Unfortunately I haven't had a chance for a vacation this year, so I'd love to hear if you've gone anywhere fun or where you would love to go.  Please leave only one comment.  I will pick a random winner on Sunday, August 14th.  Good luck!  Sorry, but this giveaway is only open to US residents.  Postage abroad might be a bit much. :(

Friday, August 5, 2011

Jammin'

  Summertime.  I love summertime because of all of the fresh fruits and veggies.  One of my favorite summertime activities is making jam. Jam is really easy to make. I get so much satisfaction from it, as well as from canning other glorious garden creations such as salsa and relish.  I love knowing what is in my food, or better yet, what is NOT in my food.    

I tried a new recipe for blueberry jam this year.  It is so good!  I will be making more of this next year for sure.  It has cinnamon and cloves in it, which made a terrific flavor.  I was a bit leery of the cloves, but it turned out perfectly.


This is how it looked as it cooked down.  It almost looks like beets in there.


Next up is my old standby recipe for low sugar chunky peach jam.  The smells filling my kitchen were amazing!


Here is the yummy jam all ready to eat!  I think it's time to bake some bread!

I'm a Winner!

Look at these lovely fat quarters that I was soooo lucky to win from Fabricworm a week or two ago!  Check out their blog today!  They have a coupon code for their shop that you will want to use!  Thank you so much Cynthia and team! They are fantastic!!  
Any good ideas of what I should make with them?


Friday, July 29, 2011

Crock Pot Sneaky Mac

Do you have kids (or others in the household) who don't like to eat things that are "good for them"?  Unfortunately I do.  In an effort to get some good stuff into my kids, I have to get a bit sneaky at times.  Usually it backfires and they can detect a difference in the food, but this mac and cheese recipe works every time.  
Enter the chickpea a.k.a the garbanzo bean:


Certainly not every kid's favorite, but definitely full of good stuff! 

Here is what you need to make my incredibly quick and easy mac and cheese recipe:

 ~2 cups shredded NY sharp cheddar cheese
~1/2 cup unsalted butter, melted - I have forgotten the butter before and it turns out just fine, with less fat!
~1 can (12.5 oz I think) evaporated milk- I use fat free
~1 cup of pureed chick peas- You could use a can of chick peas and puree them, but I prefer to buy dried chick peas and then puree the whole bag, separate them and freeze them in one cup portions.  You may also want to start with only 1/2 a cup in your recipe so the kids won't notice and gradually add more each time.  It is good to get any of the loose skins from the peas out before pureeing.
~16 oz box of macaroni, cooked and drained- any shape will do.  I've been using whole wheat pasta, although the kids do grumble about that.  They still eat it though.
~1/2-1tsp. salt depending on your taste preference
~1/2 tsp. black pepper
~1 cup milk- I use skim, any will do.  I usually just poor in the milk to the top of the macaroni without measuring it.

Caution: 
The following pictures do not do the smell or flavor of this dish justice.  Hopefully the joy on the children's faces in the last picture will win you over.

Spray your crock pot with non stick cooking spray before adding your ingredients!!

Add the cheese, butter, evaporated milk, salt, pepper and chick peas to the crock pot while you cook your macaroni.


Don't worry, the chick peas will disappear into the sauce as the mac and cheese cooks.


Add in the macaroni and milk.


Stir everything together and cook for approximately 1.5 hours on high or 3-4 hours on low.  Keep an eye on it to be sure it isn't burning on the edges.  Personally I like the crispy, burnt bits, but my kids hate it.


And here it is!  Yum, yum, yummy!


Don't their "cheesy" smiles say it all??  I used to make this recipe without the chick peas.  The kids like it more when I put the chick peas in.  It adds some really great flavor.  Just recently I let them in on my little sneaky secret.  They are still eating it and have agreed that "healthy" doesn't have to mean icky.

Friday, July 22, 2011

A mugrug mosaic

I decided to join the Scrappy MugRug Flickr group for this round.  The theme is Haiku.  I am quite excited about this.  It should be a lot of fun.  I enjoy poetry and writing, so now I can combine it with sewing.  Who knew that life could be so much fun?!?  These are a few of my favorites that I admire on Flickr.

Mosaic

Thursday, July 14, 2011

Angel potholders for PP7

An oven mitt and a pinch potholder for Liz at Living my Sweet Life!  Poor Liz waited and waited for her original potholders to arrive from the PP7 swap, but they never did, so here are a couple that I whipped up for her.  I loved making the oven mitt in particular.  It was a bit theraputic quilting the fabric. :)  Please excuse the poor pictures.  The lighting has been terrible for a few days.


For my oven mitt, I used this tutorial.  It is really great, but I would sew my binding on differently next time.  Instead of trying to catch the inside with the stitch in the ditch from the front, I would sew it to the inside before turning and then hand stitch it to the front.  It was just too tight on my machine to get it right doing it the other way.  I would also suggest serging or zigzagging the inside before turning.  It was really a fun little project to make that didn't take too long.  I'm thinking about using this for some Christmas gifts this year with some hand-written recipes.  They would be great teacher gifts!

The pinch potholder is a Keyka Lou pattern.  She really has some cute stuff.  I bought her reusable bag pattern, too, but I haven't had a chance to get to it yet.  I work best under pressure I guess.  :)

The fabric that I used was Anna Maria Horner's Bubble Burst and Michael Miller's Mimi Gingham.  I think they went really well together.  I lined the oven mitt with some navy dotted fabric that was really nice, but obviously, you can't see the inside.  Next time I will use something a little more plain and not so expensive.
I hope they will work well for Liz!

Wednesday, July 13, 2011

Lucky me!

Wow!  I was the lucky winner of an apron from Kari at Craft Happy during the May Giveaway Day at SMS.  Unfortunately, the apron that Kari made for me the first time was lost in the mail and I received an empty torn open envelope that had been taped shut with a lovely letter inside.  Kari was so generous and made me a new apron that is equally as awesome as the one she made before.  Thank you so much Kari!  I love it!  It matches my kitchen perfectly!

Now if I could just win a Go Baby! :)

Saturday, July 2, 2011

Cutest baby in my book!

Baby M had one busy day today and is now sleeping like a champ!  He had a photo shoot in the morning and a cutest baby contest in the afternoon.  I think the judges needed glasses though, because my little sweetie pie didn't win.  What a day for a six month old! 
And of course his crazy mom brought him home and took even more photos of him in the grass.  Doesn't his expression just scream "Enough!"? 


Baby M, out!

Friday, June 24, 2011

A Pouch

 I discovered this pattern for a simple zipper pouch at Sew Much 2 Luv.  It is super cute and super easy.  This was my first attempt at a zip pouch, so I was pleased with how it turned out. 
 

I'm not sure what the fabric line is that I used.  It was a cute and retro part of my stash. I love the puppies on the lining.  They are adorable.  I cut another pouch that will be the opposite with the puppies on the outside and the flowers on the inside.  I didn't have another zipper on hand that was long enough at the time I made this one.  These would be so easy to whip up assembly line style.  Lucky for me my order from zipit arrived today with some fabulous zippers and ribbon. Jennie has terrific customer service and so many colors of zippers, not to mention some really cute ribbon!  If you ever need zippers, check out her shop.  You won't be sorry!


The inside shows the seams.  I zig-zagged them since I don't have a serger and they look okay.  A serger is high on my list of things to buy.  Any advice on purchasing one?  What brand do you have or recommend?

Thursday, June 23, 2011

A bib and a burp cloth


I made two sets of these adorable Hooty Hoot bibs and burp cloths.  Baby M was the lucky recipient of one the other one is available in my little, neglected Etsy shop.  I hope to build my shop a bit this summer.  I was planning on lots of creating, but so far it hasn't really happened.  Babies sure take a lot of time, but they are so worth it!  I had forgotten how demanding they could be.


The bib is backed with chenille and has a velcro closure.  What do you prefer? Snaps or velcro? 
The burp cloth is also backed with a cream colored chenille.  Baby M loves his.  He is always checking out the owls.  I wanted to post a pic of him modeling his bib, but I wasn't quick enough before he spit up all over it.  Poor baby!

Sunday, June 19, 2011

A Couple of MugRugs

I thought I would share a couple of mugrugs that I gave as Mother's Day gifts for my Mom and my Grandma this year.  Life was crazier back then and I never got them posted.  I'm just thankful that I got them made!!


The first one is pinwheels for my Grandma.  Most of the fabric is Neptune.  The pinwheels and binding are something that I picked up from my LQS.  Not sure what those fabrics are called.  It was fun to make those super tiny pinwheels.


The second one was for my Mama.  It was completely from my scrap bucket.  I loved quilting around the poppies with my shiny orange varigated thread.  It was so much fun.  I'm not so great with the free motion thing yet, so all the practice I can get is great.  My other favorite part is the binding.  No idea what it is, but it is from a rather big UFO that I've been sitting on for a few years now.  I really need to get that finished, especially since it is for one of the boys.

Both mug rugs were well received!


And here are two very happy boys now that they are having lots of free time to run and play!

Friday, June 17, 2011

A Second Skirt!

I like to call this my "Hooty Birthday Skirt".  I decided to make myself a skirt for my birthday on Wednesday thinking that I could get it all finished in one day.  I didn't quite accomplish that, but I did just finish it, right before the Crafterhours Skirt Week deadline.  Shewww!  Kids tend to spoil some of the sewing fun every now and then. 


I used the same pattern for this skirt that I used for my Escape from Reality skirt. This time I added a few inches to the length to accomodate the large dresden plate.  I really like how it turned out, but I do feel almost like I'm wearing a target.  It is a very comfy skirt though, with it's elastic waist band.  I will have to try something new for the next skirt.  I'm feeling a bit lazy with all of the elastic.  The grey fabric has been in my stash for many, many years.  It is a heavy weight fabric, but I have no idea what it actually is.  The dresden is made from an It's a Hoot charm pack, hence the name "Hooty Birthday Skirt".  Haha! 

I've linked up to

 And now a very serious picture of J and Baby M with some electrical tape.  Boys are always busy with something.  Baby M wants to know absolutely EVERYTHING that his big brothers are doing.