
Have you ever not been in the mood to do the laundry or run to Walmart? Me, too! Baby M is constantly scratching his face and his mom if I don't have mitts on him,and needless to say, they get dirty fast with a wanna-be thumb sucker wearing them.
Now any normal mom would know that the five minute trip to Walmart would have been a heck of a lot faster than sewing scratch mitts, but being off on maternity leave has left me with some bad habits; not getting up and showering right away is probably the worst one, so Walmart was out of the question. I certainly would not want to end up on the People of Walmart website!
I don't have a serger, which would be wonderful for this little project I can only imagine, so if you do have one you probably wouldn't follow all of my tedious steps. Lucky you!
I thought, how hard can this little project really be. Technically I wouldn't even have to hem the top (wish I had a serger!) because knits don't fray. I had great intentions of simply using elastic thread and some knit fabric and it would be o' so easy, right? Not so fast...my new machine refused my elastic thread no matter what I did. Any tips are welcome! My old machine, which I gave to my Grandma was super with elastic thread. I miss my old guy.
Oh well, enough chit chat, let's sew scratch mitts!
Here are some things that you will need:
~knit fabric cut into 4"x4.5" rectangles- I used an old T-shirt
~ballpoint needle
~rotary cutter and ruler or scissors to cut your rectangles
~apprx. 2- 5" pieces of 1/2 inch elastic
~matching thread
~fabric marking pen, although any pen will do
~sewing machine (duh!) a serger would be even better!

First, cut out your rectangles.

Sandwhich two rectangles together. You will now have two rectangle sandwhiches. Find a green Gerber bowl or jar or anything round and trace curved lines on the bottom of both stacks.


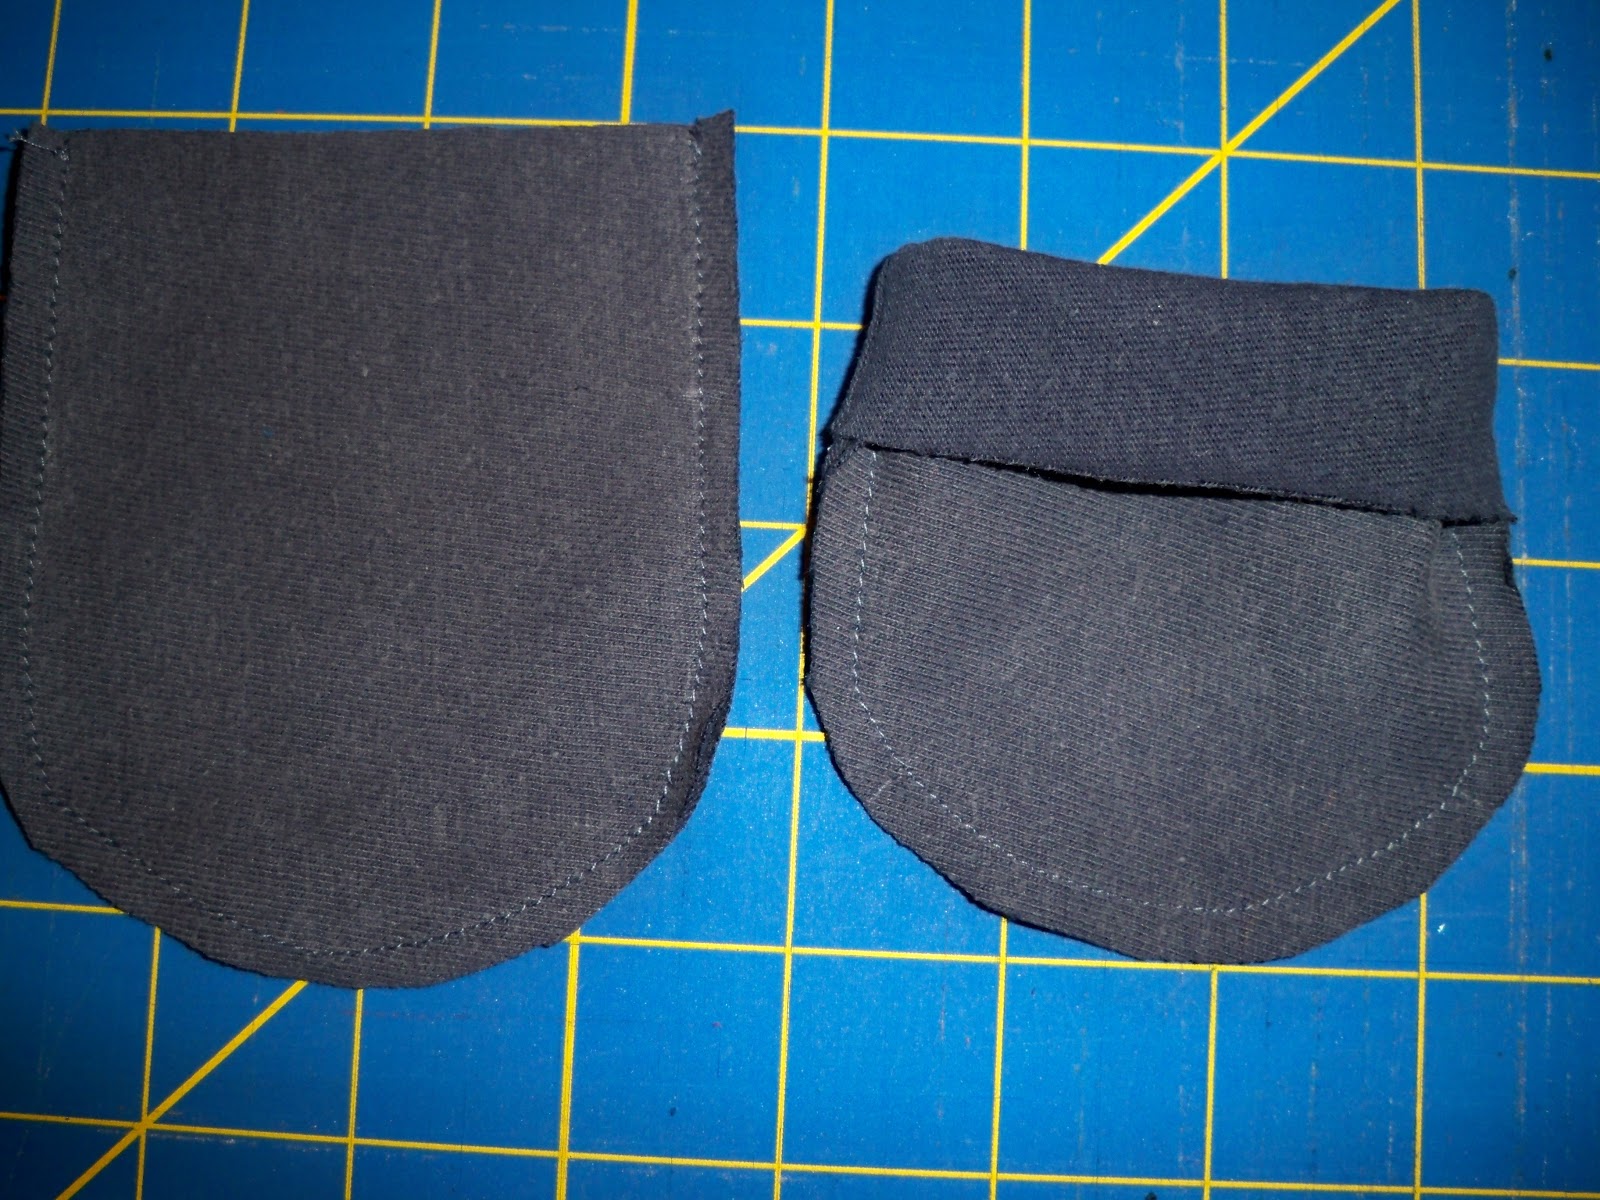
Sew around the bottom to create a casing. I used a 1/4 inch seam. Be sure to LEAVE AN OPENING to insert the elastic.

As with anything small, do not do this:

Be sure that the other side is not under the side that you are sewing.
Place a safety pin in one end of your elastic.

Thread the elastic through the casing. Remove the safety pin.

Sew the ends of your elastic together. You may choose to overlap the ends to make a more flat seam, but I found that the way I show you in the picture worked just great for this small project.

Finish by sewing the gap in the casing closed.


"Thanks Mommy! These are the bomb!"

2 comments:
Pěkné...
You just created a wonderful pattern! He looks so cute in them!
Post a Comment